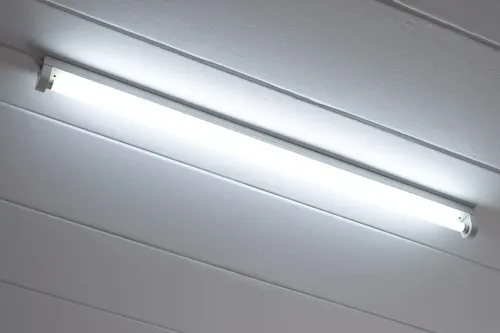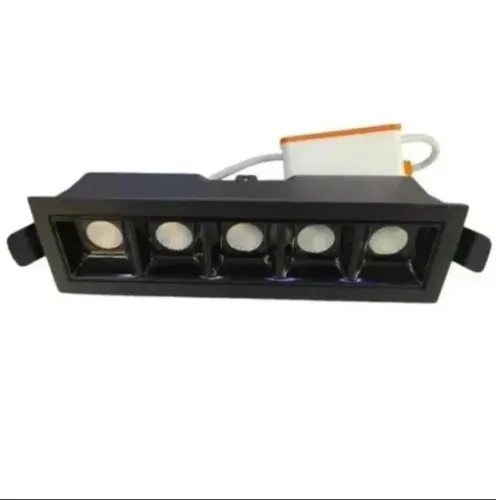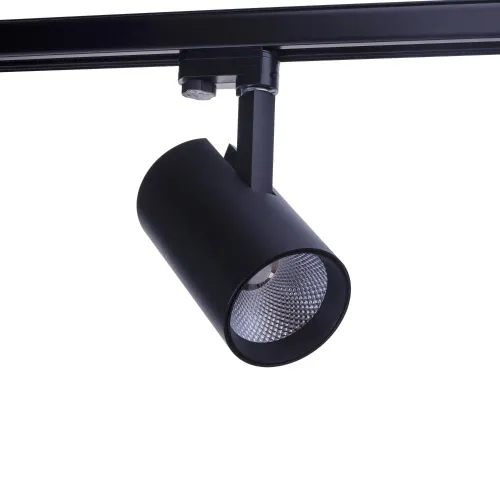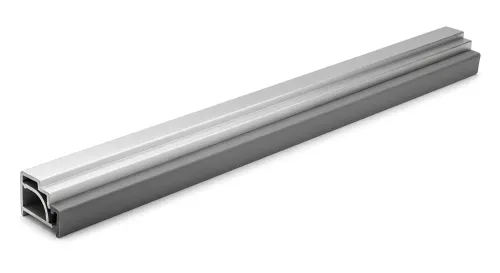
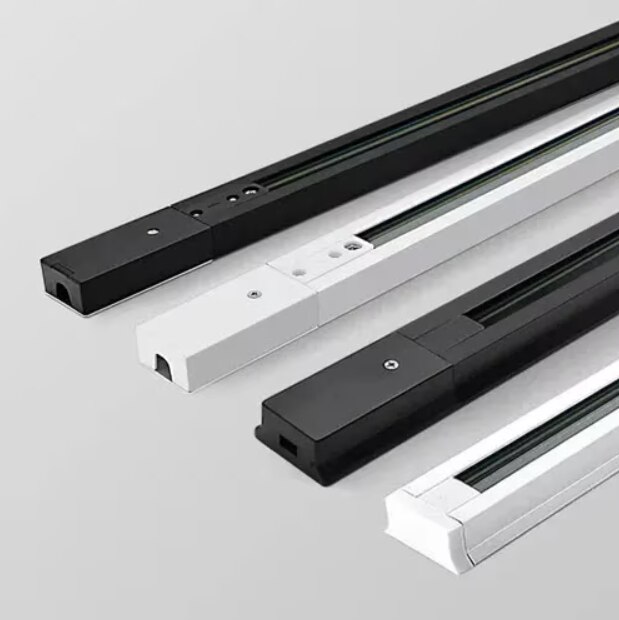
A one-metre LED track patti is not a complete specification: it could mean a strip in an aluminium profile, a rigid linear board or a proprietary track fitting. By checking the unit, setting out the run, wiring the driver and commissioning the light in the correct order, you can avoid mismatched parts, dark sections, unsafe connections and difficult future repairs.
Key takeaways
- Confirm whether you bought a profile, powered track, or complete light assembly.
- Measure each route, mark cuts, and leave access for drivers and wiring.
- Match driver voltage and wattage to the LED source before powering sections.
- Record test results, joint locations, batch details and final photographs before approval.
What must be confirmed before the one-metre unit reaches the site?
Before the one-metre unit reaches site, confirm whether you bought an empty aluminium profile, a powered track, or a complete profile-light assembly. “Track patti” does not identify the strip, module, diffuser, driver, end caps or mounting hardware.
1. Obtain a written specification for the LED strip or module type, input voltage, wattage per metre, colour temperature, CRI, IP rating, beam or diffuser type, cut interval and driver requirement. These parts are not automatically interchangeable.
2. Measure the profile’s external width and height, internal channel width, diffuser dimensions, mounting depth and available ceiling clearance. Record whether the fitting is surface-mounted, recessed or suspended, and list any corners, bends, clips, screws, suspension cables or brackets required.
3. Inspect the actual location before ordering. Check heat, dust, moisture, substrate strength, access for driver replacement and local electrical conditions. A one-metre LED profile light in Delhi still needs this site check; a dry-ceiling profile is not automatically suitable for a façade, bathroom, shopfront or outdoor sign.
4. Confirm the complete assembly’s environmental suitability, not just the strip’s rating. Outdoor use requires compatible seals, end caps, cable entries, drainage and a protected driver, while a dusty or warm ceiling may need mechanical retention instead of adhesive alone.
Ask for a drawing or technical schedule showing every included component, the driver location and the permitted installation environment. That document prevents a one-metre purchase from arriving with a channel that cannot accept its light source or fit the intended surface.
How is the one-metre route measured, cut and fixed?
Measure the finished illuminated line before starting LED track patti installation, then mark its centreline on the mounting surface. Check that the ceiling, wall, shelf or display surface is sound, flat, clean and free from obstructions.
Calculate the quantity from the actual run: a 3-metre line might use three 1-metre sections or a 2-metre section plus a 1-metre section, depending on permitted lengths and connector arrangement.
- Cut an aluminium profile only at its approved cut mark; a proprietary rigid track may require a specified connector or may not be field-cuttable.
- Cut a flexible LED strip only at its printed circuit intervals. Cutting between marks can open the circuit and leave an LED group unpowered.
- Drill, clip or recess the aluminium channel according to its mounting system, using the marked centreline to keep each section straight.
Dry-fit the sections before tightening anything. Corner pieces, alignment marks and mounting clips determine whether adjoining diffusers meet cleanly, while ceiling depth and surrounding clearance affect whether the channel sits level without striking an obstruction.
Do not treat the strip’s factory adhesive as structural support on a ceiling, dusty surface, warm location or outdoor installation. The liner needs a clean, dry, grease-free surface; use profile clips, screws or another mechanically retained channel when the fitting’s weight, heat or exposure demands it.
The aluminium profile also provides the LED’s thermal path, so do not bond a high-power strip directly to painted wood, PVC or an unprepared wall.
How do the driver, LED source and diffuser become one working fitting?
The driver, LED source and diffuser become one working fitting through a controlled electrical and assembly sequence. The profile light installation process separates mains-side wiring from the low-voltage LED circuit, while keeping the driver accessible for replacement and inspection.
1. Route the low-voltage cable to the planned entry point before closing the profile. A competent electrician handles the driver’s mains input, isolation, earthing and protective devices.
2. Match the driver’s output voltage to the strip or LED board. Calculate capacity from the total connected watts, not the one-metre length, then allow design margin without choosing an oversized supply that conflicts with the dimmer or control system.
3. Bond the strip or LED board firmly to the aluminium channel’s thermal path. Do not install it on painted wood, PVC or an unprepared wall; poor heat transfer shortens LED life and can cause brightness loss.
4. Check polarity, connector current rating, conductor retention and strain relief before closing the channel. Then fit the diffuser and end caps without pinching wires or leaving gaps at cable entries.
A clear diffuser preserves more output but can reveal LED dots. An opal or deeper diffuser improves uniformity while reducing transmission, so confirm the required viewing distance before choosing it.
For outdoor work, rate the complete assembly: strip, profile, joints, end caps, seals, cable entries, drainage and driver enclosure. An IP-rated strip alone will not stop water entering through an unsealed connector or profile end.
What happens at section joints when the light is powered?
At a joint, the light stays continuous only when the connector preserves alignment, mechanical support and electrical continuity. An aluminium joiner may hold two profiles together without carrying power, so verify whether each joint is a mechanical joiner, an electrical connector, or both.
| Connector type | Appearance and strength | Electrical risk |
|---|---|---|
| Mechanical joiner only | Keeps sections aligned but cannot feed the next section; a height or angle mismatch can create a broken line through the diffuser. | The next section remains dark unless it has its own feed. |
| Electrical clip connector | Transfers power when its voltage and current ratings match; a loose clip can weaken contact as the profile moves. | Reversed polarity or poor conductor retention can cause a dark section or flicker. |
| Soldered joint | Makes a direct connection but needs insulation, strain relief and protection from movement. | An exposed or stressed joint can overheat or fail during servicing. |
Check polarity at every low-voltage connection before energising. Confirm voltage drop against the manufacturer’s maximum run guidance; use short, correctly sized cable and parallel feed or specified injection points when required. A one-metre section reduces the risk, but does not remove it.
Commissioning includes a continuity check, confirmation of driver output, inspection for brightness variation and hot spots, and testing of dimming or control response. Secure the diffuser, end caps and cable entries, then operate the fitting briefly before handover. Driver noise, weak joints and thermal faults are easier to correct while the profile remains open.
This discipline makes led track patti installation look like one line rather than connected pieces.
What should you document before approving a one-metre installation in Delhi?
Approve the installation only after the record matches what was bought, installed and tested. This turns a finished light into a checkable purchase and handover decision rather than an assumed “track patti” fitting.
1. Record the final illuminated run length, number of sections, connector type, approved cut points, diffuser choice and control method.
2. Record the driver model, output rating, location, cable route and access arrangement for replacement. Do not bury the driver in a closed profile unless the product is specifically designed and thermally rated for that position.
3. For dimming, confirm that the driver, controller, minimum load and wiring method support the selected PWM, 0–10 V, DALI or phase-cut system. LED compatibility alone does not guarantee quiet, flicker-free dimming; an incorrect pairing can produce audible noise, flicker or a restricted dimming range.
4. For an exposed installation, record the declared ambient-temperature range, installation orientation, sealing method and inspection plan. Sealant added on site is not a substitute for a product rated for the location, and excessive sealing can trap heat or prevent repair.
5. Ask Kozon India Solutions Pvt Ltd or another supplier for the missing technical schedule when comparing a one meter led track for patti installation in delhi. Confirm the record identifies the intended shop, office, façade, shelf or industrial location before approval.
Related product
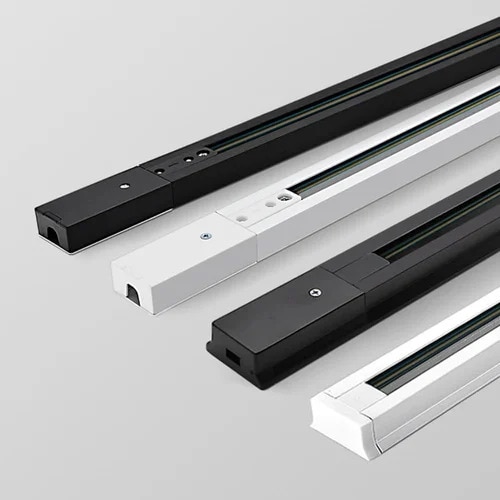 | Profile Light ₹110 Aluminum Track Light Channel (Track Light Rails) Available in Black and White body Connectors included extending the track as per your requirement... View product → |
Frequently asked questions
What must be confirmed before a one-metre LED track patti reaches site?
Confirm whether the order includes only an aluminium profile, a powered track, or a complete assembly with LED source, diffuser, driver, end caps and mounting hardware.
How is a one-metre LED track patti measured, cut and fixed?
Measure the installed route, mark each one-metre section, cut the profile squarely with the correct tool, deburr the edges, and fix it to a level, suitable surface.
How do the driver, LED source and diffuser become one working fitting?
Connect the LED source to a driver with matching output voltage and sufficient wattage, secure the wiring, seat the source in the profile, and install the diffuser without pinching cables.
What happens at section joints when the light is powered?
Inspect connectors, polarity, mechanical alignment and voltage drop at every joint, then power the route and check for flicker, dark spots, heat and uneven brightness.
What should you document before approving a one-metre installation in Delhi?
Record the product specification, driver details, batch numbers, route measurements, joint locations, electrical test results, photographs and any defects corrected before handover.
Keywords